Chestnut financiers

Chestnuts are so underrated, and they shouldn’t be because they are delicious! Boiled, roasted or candied, chestnuts taste amazing, with their soft, creamy and delicate texture. If you want to make me happy over the holidays (or any time, really), get me a box of candied chestnuts! They are to die for!

I’ve been wanting to make a dessert out of chestnut spreads for some time now, but never really got to it. Last year, I made all these plans for a homemade Mont-Blanc. Spent weeks researching for the perfect recipe, planning, buying all the right ingredients, and everything. In the end, I got lazy and my plans went nowhere…

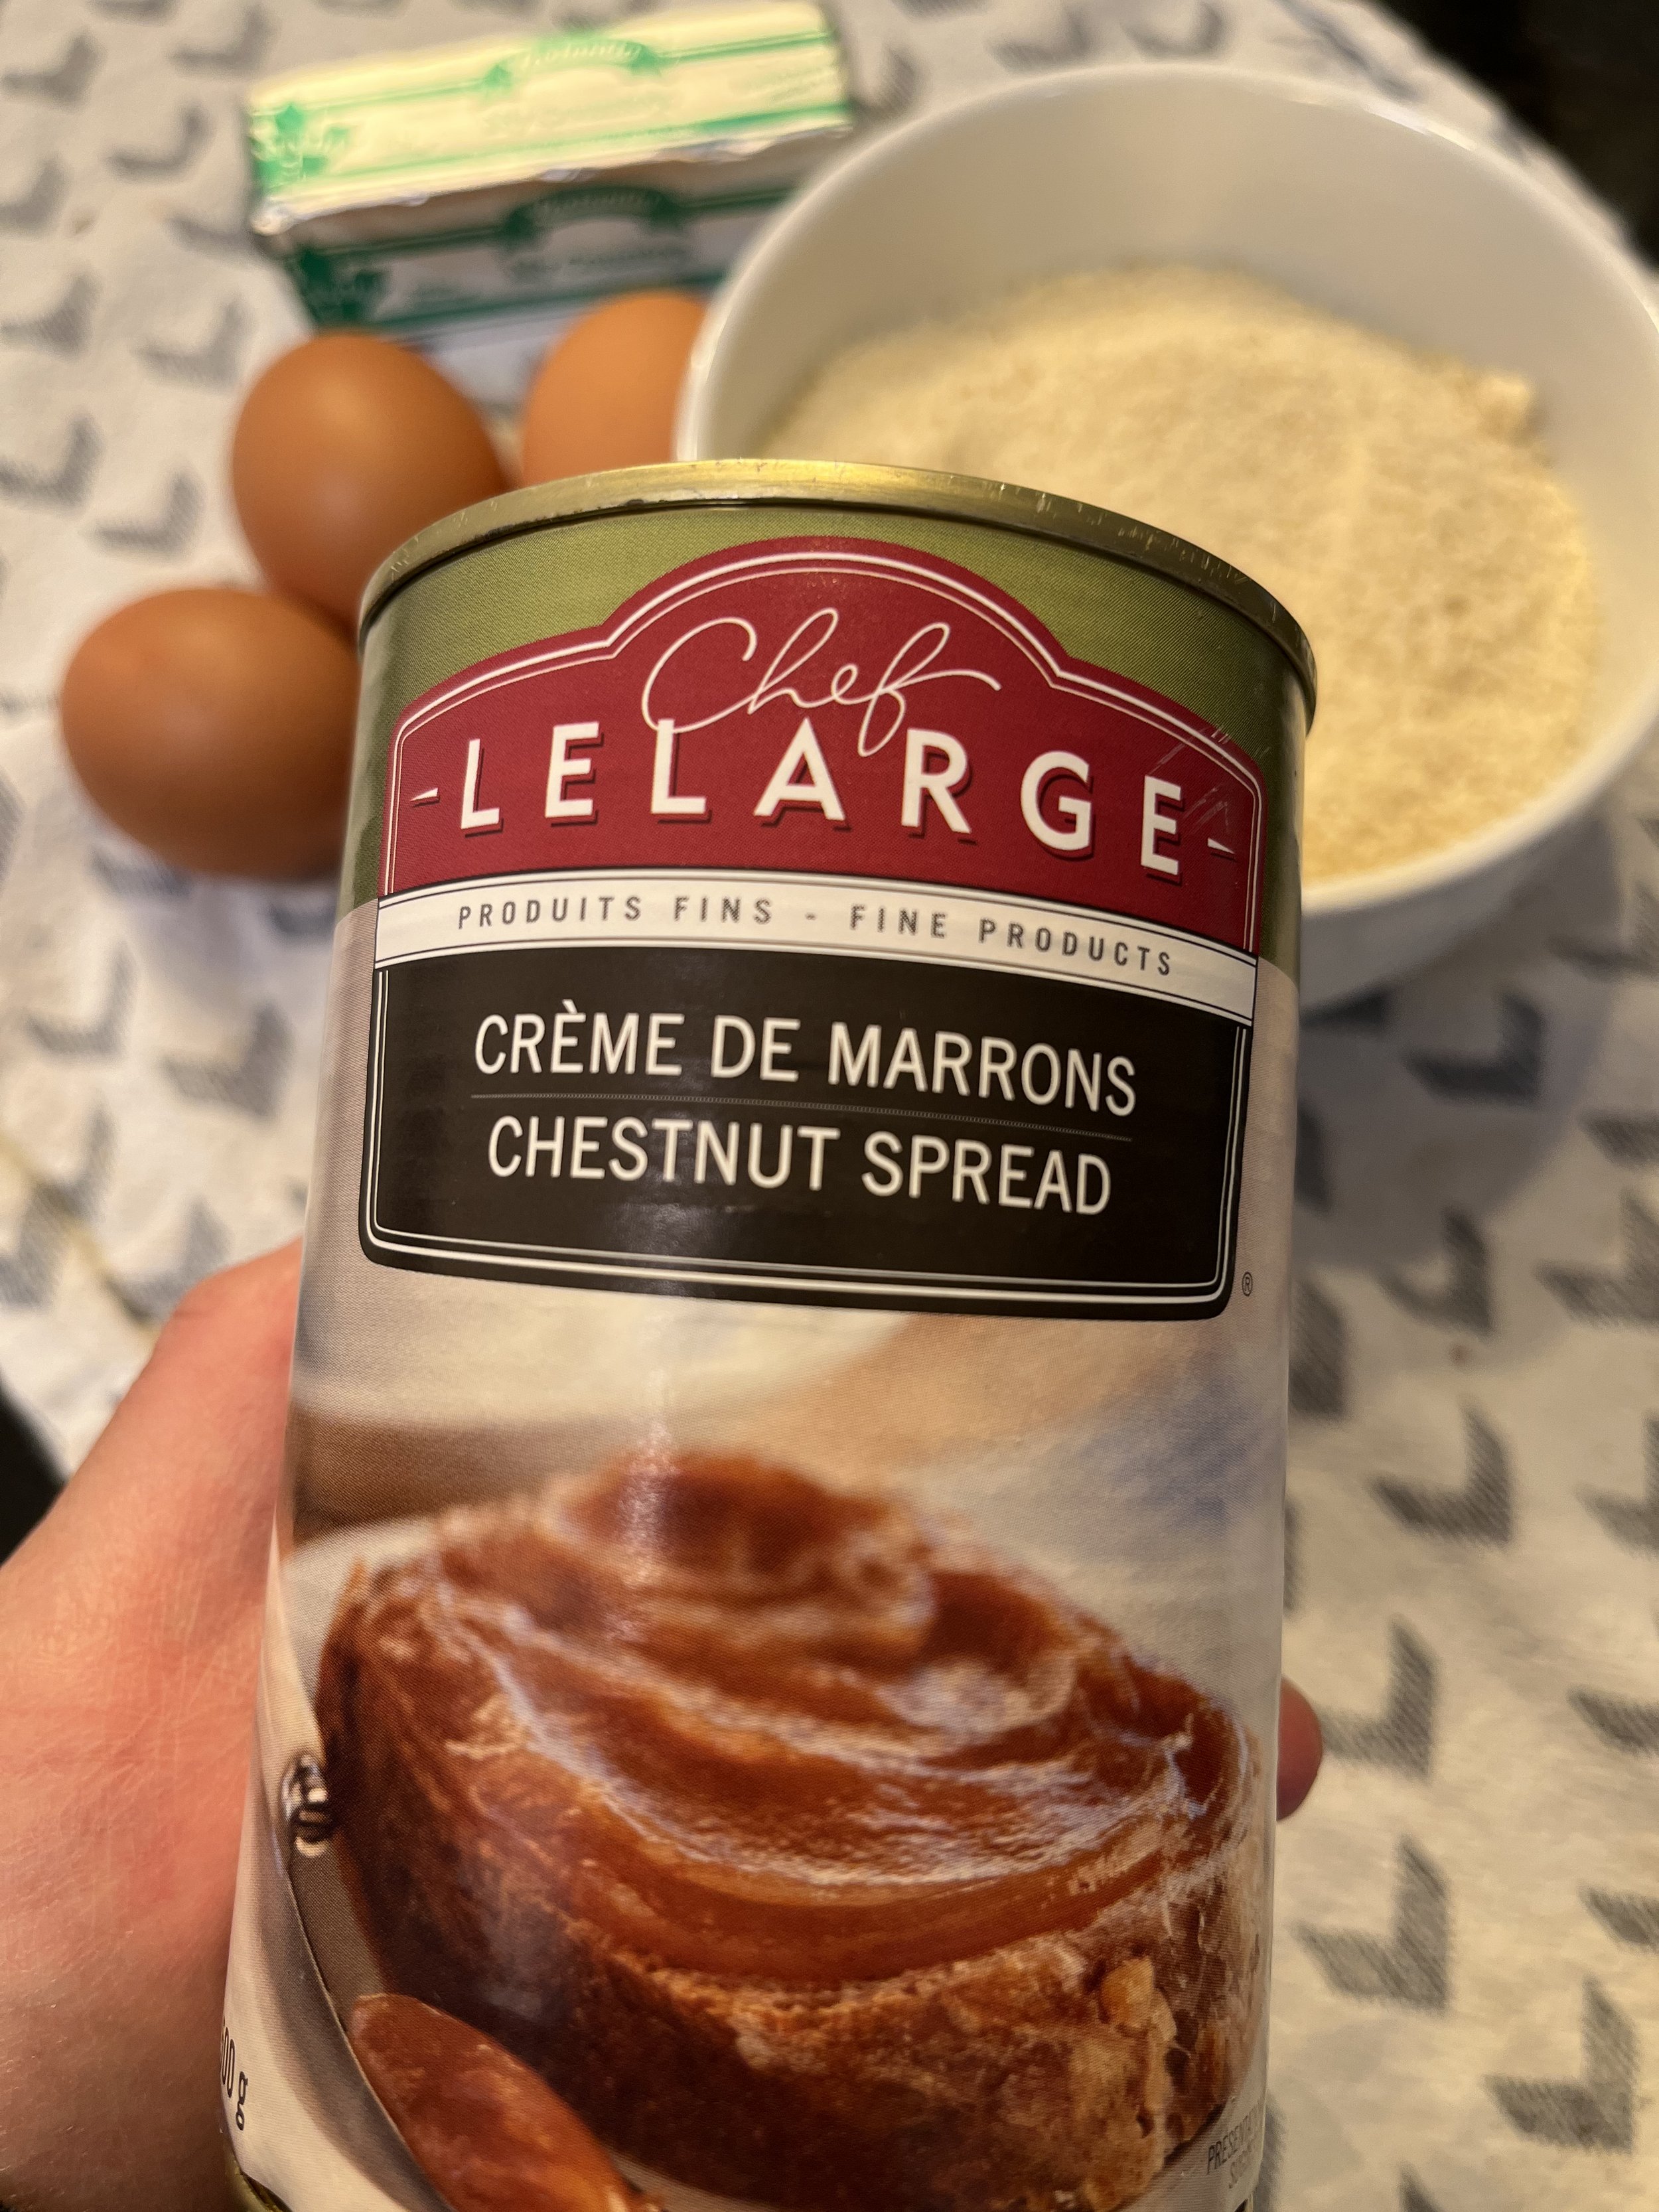
This year, I stumbled on a few cans of chestnut spread while grocery shopping and took it as a sign that I should pull through, this time. Not with the Mont-Blanc, though. That’s way too time consuming. I wanted to bake something simple but tasty. My personnal favorite snacks are financiers, so I decided to give chestnut financiers a try, to see what they taste like. I must say, the result is more than satisfactory! It also helps that this cake is beyond easy to prepare!

Chestnut financiers

Makes approx. 15

ingredients

  • 2 cups ground almonds

  • 500gr chestnut spread (1 can)

  • 4 eggs

  • 6 tbsp butter

  • salt

directions

  1. Preheat oven at 320.

  2. Prepare muffin pan with liners.

  3. Melt the butter and set aside.

  4. Separate eggs yolks from the egg whites.

  5. In the bowl of an electric mixer fitted with the whisk attachment, beat the egg whites with a pinch of salt until stiff peaks form, and set aside.

  6. Still with the electric mixer, mix the egg yolks with the chestnut spread until combined.

  7. Add the butter, then the ground almond, mixing well after each addition.

  8. Incorporate the egg whites to the mixture, and mix delicately with a spatula.

  9. Fill the muffin cases 2/3 full and bake for 30 to 35 minutes.

  10. Let the cakes rest in the tin for 5 minutes before transferring them to a rack to cool completely.

And that’s it! How simple was that? The cakes are moist, slightly crumbly, with a sweet but delicate chestnut taste. I dusted the cakes with some icing sugar only to make them pretty, but that’s what I like about financiers (aside from being super easy to make) : they don’t need icing or frosting.

Enjoy!

Strawberry ice cream

Summer’s quickly coming and that can only mean on thing : ice cream! Ice cream is the only thing that really makes summer tolerable for me; can’t stand the heat and the humidity. I normally start summer by making my ice cream parlor tour around town, coming back to old favorites and discovering new ones, but with the current confinement measures, I’ll have to resort to making more of my own ice cream!

Strawberry has never been my favorite flavor but I made a batch recently upon request and I must admit that it was pretty tasty! I’m writing down this recipe to share it to who ever is interested in making it at home but also so I don’t forget it, because I’ll most definitely whip up another batch soon!

Ideally, make this recipe with fresh strawberries but since they are not accessible for the moment, I used frozen ones and it worked perfectly fine.

IMG_0085.jpg

ingredients

  • 3 cups strawberries (fresh or frozen, thawed)

  • 4 tbsp lemon juice

  • 1 1/2 cups sugar

  • 1 1/4 cups whole milk

  • 2 3/4 cups heavy cream

  • 1 1/2 tsp vanilla extract

  • 3 tbsp vodka (optional)


directions

  1. Chop the strawberries into chunks.

  2. In a bowl, combine the strawberries, lemon juice and 1/2 cup of sugar. Stir gently to mix everything. Cover the bowl and put it in the refrigerator for at least 2 hours.

  3. Strain the strawberries and reserve the juice.

  4. Separate the strawberries into 2 bowls. Take one bowl and slightly mash the berries. Put the other bowl aside.

  5. In the bowl of an electric mixer fitted with the whisk attachment., add the milk and the remaining cup of sugar. Whisk at low speed until the sugar has dissolved.

  6. Add heavy cream and continue mixing, at low speed.

  7. Add the reserved juice, mashed strawberries and vanilla extract.

  8. Add the vodka (optional). * see note below.

  9. While the mixture is still mixing at low speed, prepare your ice cream machine.

  10. Pour the mixture in the ice cream machine and freeze according to the manufacturer’s instructions.

  11. Transfer the ice cream to a freezer-safe container and add the remaining strawberries. Mix delicately with a spoon. The ice cream’s texture should be soft and creamy.

  12. Cover and freeze until firm.


* The vodka’s purpose is to prevent the ice cream from becoming too firm in the freezer. Since alcohol doesn’t freeze, it allows your ice cream to retain some of its creamy texture. I like to use vodka because it’s flavorless and will not affect the overall taste of the final product, but every now and then, I play around, mixing different ice cream flavor with different alcohol. My favorite combo by far is vanilla ice cream with rum or Grand Marnier. They’re also great with chocolate.

If alcohol is not your thing, then another trick is to add more sugar. Sugar is also a great stabilizer, so don’t skimp on it. Granulated sugar or corn syrup will do the trick. I read that you can also use gelatin but I will not dwell on it because I’ve never tested it.

I personally like to add alcohol. I’ve found that they work best at stabilizing my home made ice creams and they don’t make them too sweet, which is a big turn off. They can be flavorless (like vodka) or add more depth (rum, Grand Marnier, Amaretto, etc).

Enjoy!