Chestnut financiers

Chestnuts are so underrated, and they shouldn’t be because they are delicious! Boiled, roasted or candied, chestnuts taste amazing, with their soft, creamy and delicate texture. If you want to make me happy over the holidays (or any time, really), get me a box of candied chestnuts! They are to die for!

I’ve been wanting to make a dessert out of chestnut spreads for some time now, but never really got to it. Last year, I made all these plans for a homemade Mont-Blanc. Spent weeks researching for the perfect recipe, planning, buying all the right ingredients, and everything. In the end, I got lazy and my plans went nowhere…

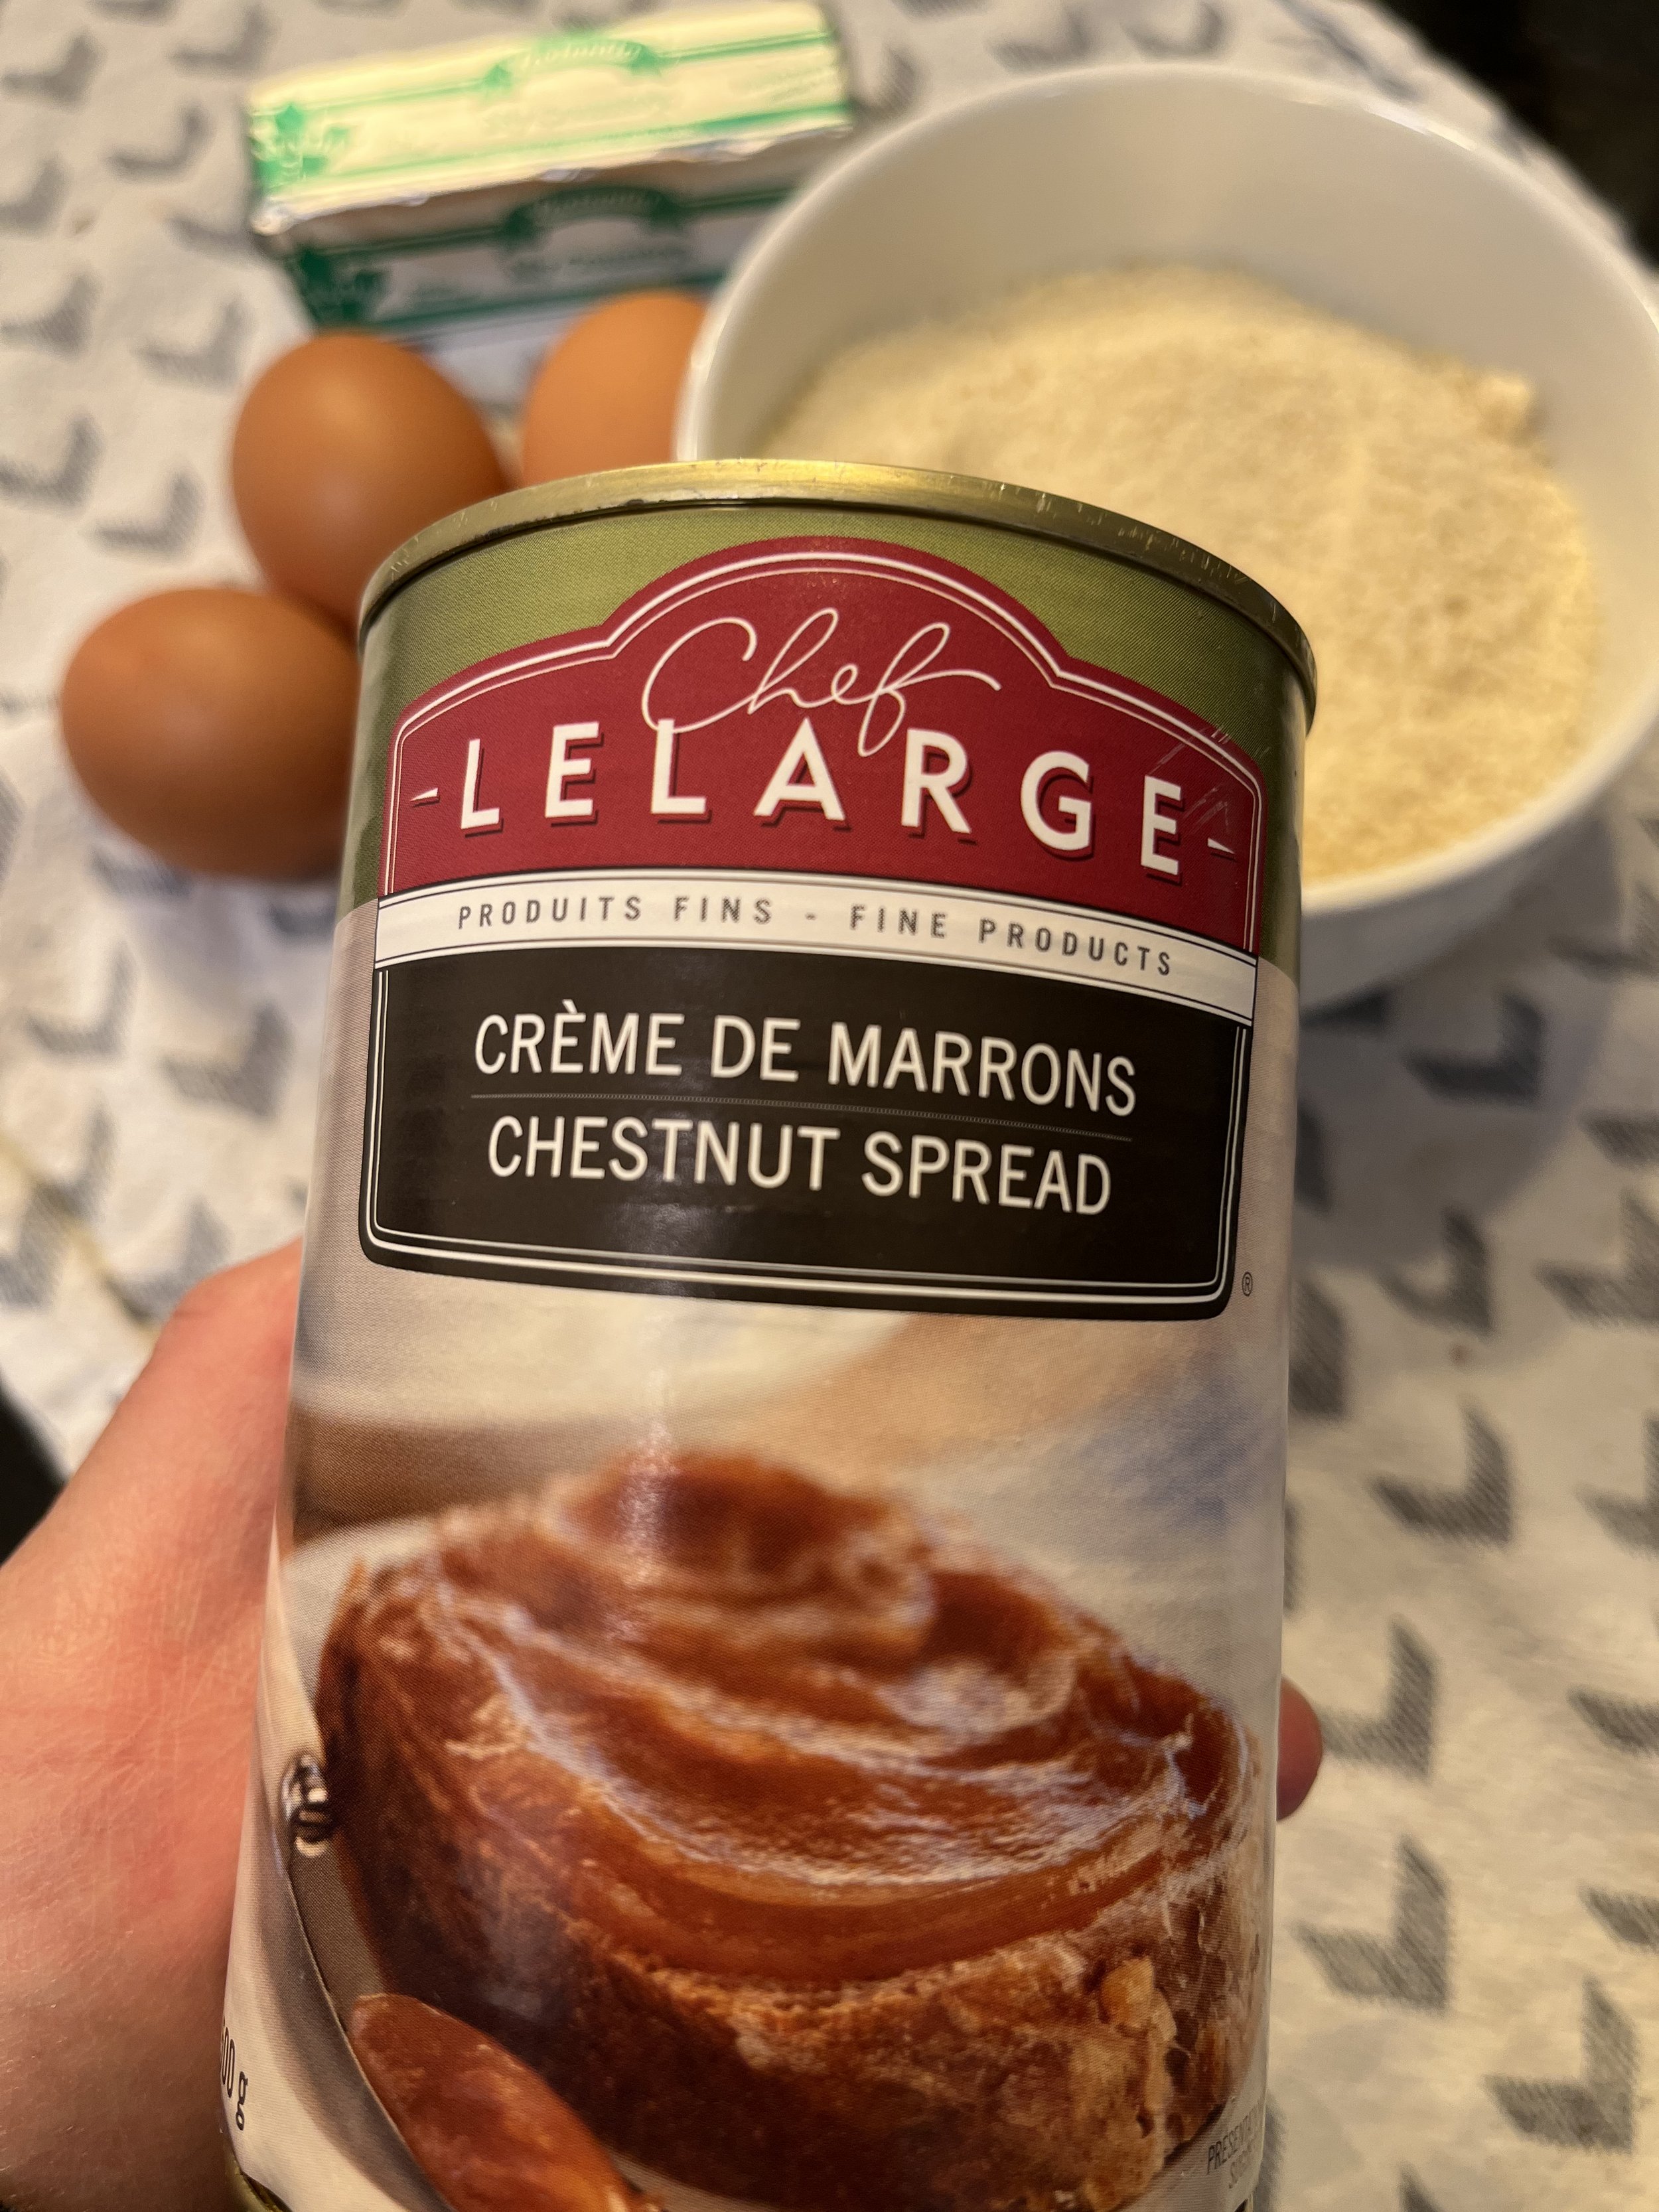
This year, I stumbled on a few cans of chestnut spread while grocery shopping and took it as a sign that I should pull through, this time. Not with the Mont-Blanc, though. That’s way too time consuming. I wanted to bake something simple but tasty. My personnal favorite snacks are financiers, so I decided to give chestnut financiers a try, to see what they taste like. I must say, the result is more than satisfactory! It also helps that this cake is beyond easy to prepare!

Chestnut financiers

Makes approx. 15

ingredients

  • 2 cups ground almonds

  • 500gr chestnut spread (1 can)

  • 4 eggs

  • 6 tbsp butter

  • salt

directions

  1. Preheat oven at 320.

  2. Prepare muffin pan with liners.

  3. Melt the butter and set aside.

  4. Separate eggs yolks from the egg whites.

  5. In the bowl of an electric mixer fitted with the whisk attachment, beat the egg whites with a pinch of salt until stiff peaks form, and set aside.

  6. Still with the electric mixer, mix the egg yolks with the chestnut spread until combined.

  7. Add the butter, then the ground almond, mixing well after each addition.

  8. Incorporate the egg whites to the mixture, and mix delicately with a spatula.

  9. Fill the muffin cases 2/3 full and bake for 30 to 35 minutes.

  10. Let the cakes rest in the tin for 5 minutes before transferring them to a rack to cool completely.

And that’s it! How simple was that? The cakes are moist, slightly crumbly, with a sweet but delicate chestnut taste. I dusted the cakes with some icing sugar only to make them pretty, but that’s what I like about financiers (aside from being super easy to make) : they don’t need icing or frosting.

Enjoy!

Lemon/blueberry mille-feuilles and pistachio/raspberry tartlets

I made a few little pastries for our office Christmas party, and since a lot of people have since asked me for the recipes, I decided to share them in a blog post.

I wanted to make something easy, but pretty, and most importantly tasty! I usually do not have that much time to whip something up after work and supper, so these desserts were just perfect! I made mille-feuilles with lemon curd and glazed blueberries on top, as well as little tartlets with pistachio frosting and raspberries. Ideally, the lemon curd and the pistachio frosting should be made in advance, so that all you’re left to do is bake the puff pastry and assemble everything! Both mille-feuilles and tartlets were made with sheets of puff pastry to save time. To save even more time, I bought sheets of frozen puff pastry. Yes, I could make my own, but when it comes to puff pastry, I prefer to buy it for 2 reasons : I save tons of time because puff pastry is a hassle to make and most importantly, home-made puff pastry requires A LOT of butter, and that stuff is super expensive! So store-bought it is

Anyways, here are the instructions !

04FE5563-7195-4460-9719-4362FD254388.jpg

Lemon/blueberry mille-feuilles and pistachio/raspberry tartlets

Makes around 20 mini pastries

Ingredients

  • 1 cup fresh raspberries

  • 1 box of 2 puff pastry sheets, thawed

  • 4 tbsp sugar

Glazed blueberries

  • 1 cup blueberries

  • 1 tbsp lemon juice

  • 2 tbsp powdered sugar

Lemon curd

  • Click here for recipe

Pistachio frosting

  • Click here for recipe


directions

Puff pastry

  1. Preheat oven at 375.

  2. Unroll a sheet of puff pastry and cover evenly the surface with 1 tbsp of sugar.

  3. Turn the sheet over and cover the other surface with 1 tbsp of sugar.

  4. Proceed the same way with the other sheet of thawed puff pastry.

  5. Put the sheets in the freezer for 10 minutes.

  6. Cut the sheets into the desired shapes. I chose 2”x5” rectangles, 2”x2” squares and 2” circles.

  7. Put parchment paper on a cookie sheet and transfer the cut puff pastry onto the cookie sheet.

  8. To prevent the puff pastry from puffing up to much (we want them to stay super thin), put parchment paper on top of the puff pastry, and place at least another baking sheet on top. In my case, I bought a set of 3 baking sheets of 3 different sizes. I used the biggest one for the puff pastry and put the 2 smaller ones on top.

  9. Bake for 20 minutes.

  10. Remove the cookie sheets and parchment from the top of the puff pastry and continue baking for approximately 10 minutes. This step allows for the sugar on top of the puff pastry to caramelize a bit.

  11. Keep an eye on the puff pastry because each shape will bake at different speed. Have a cooling rack ready, and remove each piece one by one as they appear done and uniformly brown.

  12. Let the puff pastry cool down completely before assembling.

Berries

  1. Wash the berries thoroughly and dry them.

  2. Set the raspberries aside.

  3. Put the blueberries in a large bowl and cover them with lemon juice.

  4. Mix them carefully with the powdered sugar, making sure that all the berries are completely covered with sugar.

  5. Set them aside, either on the counter or uncovered in the fridge.

Assembling the lemon/blueberry mille-feuilles

  1. Transfer the lemon curd into a piping bag, with a round tip (I used a Wilton W5569).

  2. Take 2 pieces of puff pastry, making sure they are the same size. I used the square shape in this case.

  3. Pipe the curd on one pastry sheet, and spread a tiny bit of curd at the enter of the other.

  4. So now you have a sheet of puff pastry with piped lemon curd on top (sheet A) and a sheet of puff pastry with a little bit of lemon curd spread on its center (sheet B).

  5. Place sheet B on top of sheet A, curd side up.

  6. Carefully place blueberries on top of sheet B. The spread lemon curd ensures that the blueberries don’t move and stay in place.

Assembling the pistachio/raspberry tartlets

  1. Transfer the pistachio frosting in a piping bag. I don’t really remember which piping tip was used, but a star-shaped tip like a Wilton 4B or a Wilton 6B will do the trick.

  2. In this case, I used the rectangular and the round puff pastry.

  3. Apply frosting on one surface and then decorate with raspberries.

And that’s it! Of course, you could make lemon/blueberry tartlets and pistachio/raspberry mille-feuilles as well! Which I did, a bit, since I had some leftover ingredients afterwards. I had fun mixing things up a bit!

The pastries were a hit at the office Christmas party, and their colors were on point also! They’re great because they are not too heavy or too filling, and the lemon as well as the raspberries provide a much needed freshness in the palate!

This is a super easy dessert to prepare, as long as you plan ahead!

Enjoy!

Pistachio frosting

As I have very often mentioned, I love, love, love pistachios! If I want a fancy dessert, chances are that I will resort to using pistachios because not only do they taste amazing, but they also provide a beautiful dash of green color. This works particularly well if I want to make something special for Christmas. Add cranberries or raspberries, and you are set!

I have looked long and hard for a frosting recipe that will not diminish in any way the color nor the taste of this amazing nut, and I think I’ve found it! It requires some pistachio paste, so I recommend that you make it before hand to save some time. For how to prepare pistachio paste, click here.

pistachio frosting (1).jpg

Pistachio frosting

Makes about 1 1/2 cups

ingredients

  • 1/2 cup unsalted butter

  • 1/4 cup powdered sugar (more if needed)

  • 3/4 cup pistachio paste

  • Pinch of salt

directions

  1. In the bowl of an electric mixer fitted with the paddle attachment, combine butter and powdered sugar at medium/high speed, until the mixture is pale and fluffy. About 2 or 3 minutes.

  2. Add the pistachio paste and a pinch of salt, and continue mixing at medium speed. Add more powdered sugar if the mixture is not as sweet as you would have liked or if it doesn’t have the consistence that you desire.

  3. Scrape the sides of the bowl with a spatula if needed, and mix at high speed for a minute or two.

And that’s it! Your pistachio frosting is done and it should have kept its green color! If you don’t need right away, you can store it in an air-tight container, in the fridge, for up to a week. What’s great with this frosting is that it’s not too sweet, and you don’t lose any of the pistachio’s flavor.

Enjoy!